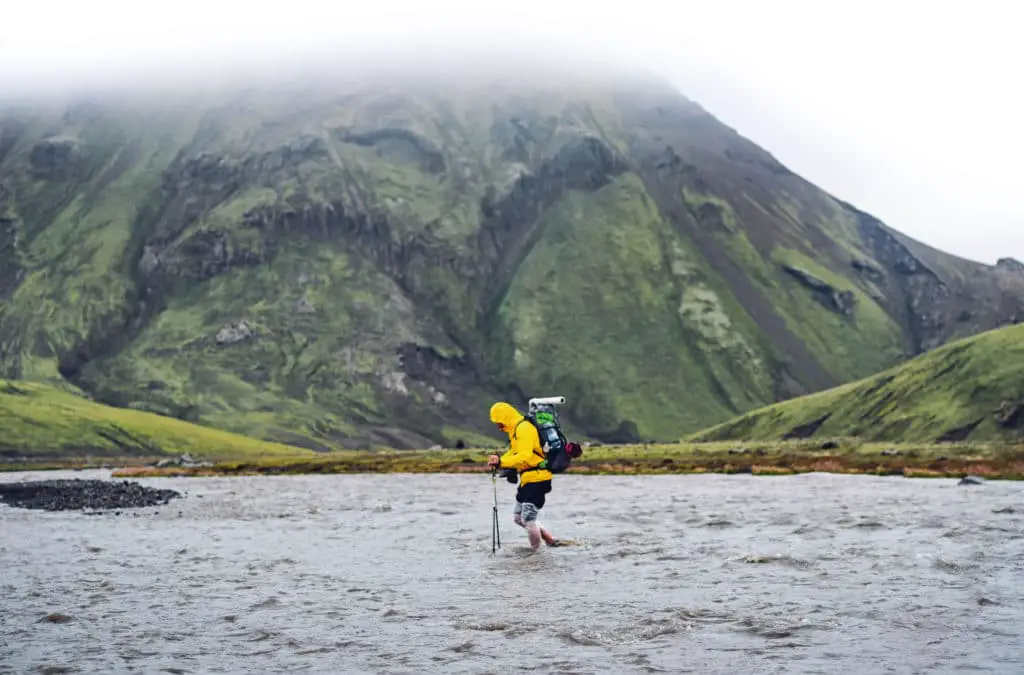
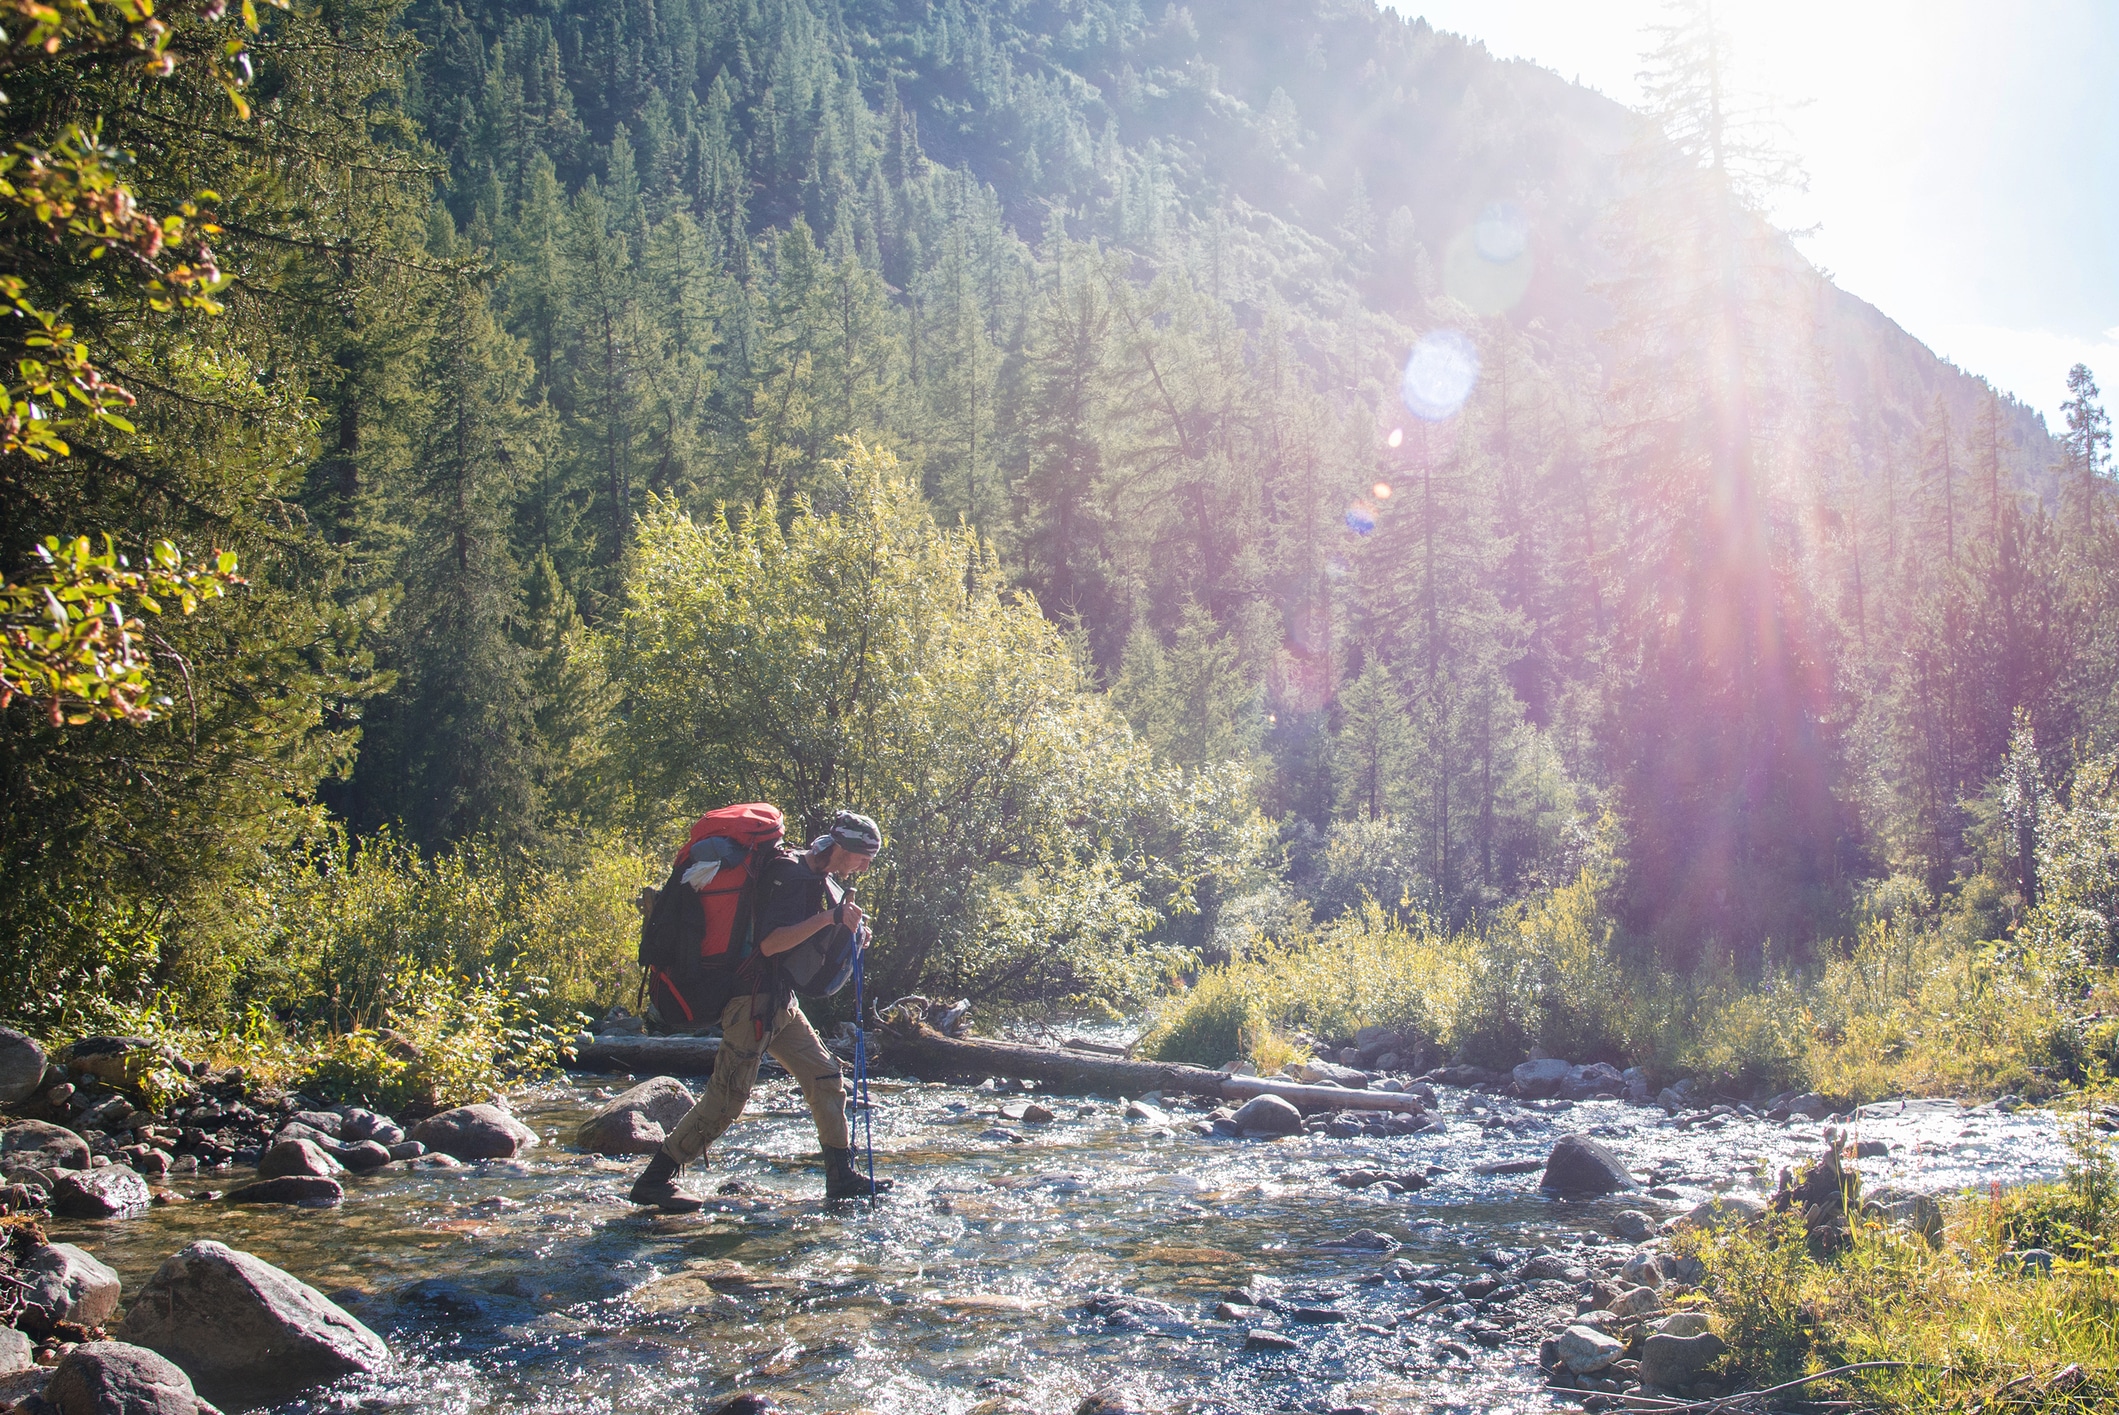
Fording a river can be daunting to even a seasoned hiker. There are many risks and factors to consider when you decide to cross a river on your hike, and there is no way to be 100% safe. Hazards come in many different forms, and you need to be very aware of your surroundings.
You can and should approach the task with an appropriate level of caution and risk assessment. There are a few options for ways to ford a river, and each comes with its own set of drawbacks. You must determine which method is the most appropriate for your situation.
You can ford a river safely by crossing directly in the water at an appropriate section of the river, using a newly fallen tree that is secure on both sides, or by hopping across using boulders.
You should know what equipment you might need, how to safely utilize the method you have chosen, and what to do in the event you fall. No matter which way you choose to cross, to get the best results, you will need to be as aware and educated as possible.
What Equipment do you Need to Ford a River
To ford a river, you want to have:
- A strong walking stick or a hiking pole
- A second pair of shoes
Fording a river by walking through the water doesn’t necessarily require you to bring extra equipment. If you do not already hike with a specialized trekking pole, finding a long and sturdy walking stick will give you the extra support you need to keep two points of contact with the river floor at all times.
Additionally, you do not have to bring a second pair of shoes with you to ford a river. You do, however, need to wear shoes.
Walking across a river barefoot not only reduces your traction and can cause you to fall more easily, but it also increases your risk of injury if your foot twists, or if you step on sharp rocks or sticks.
In order to avoid cutting your hike short, you should either wear your hiking shoes to cross or bring a pair of old tennis shoes to wear if you don’t want to continue your hike in wet shoes.
Otherwise, you do not need anything except your wits and a safety-focused mindset to ford a river.
How do Rivers Work
Before you ford a river, you should have an idea about how they work.
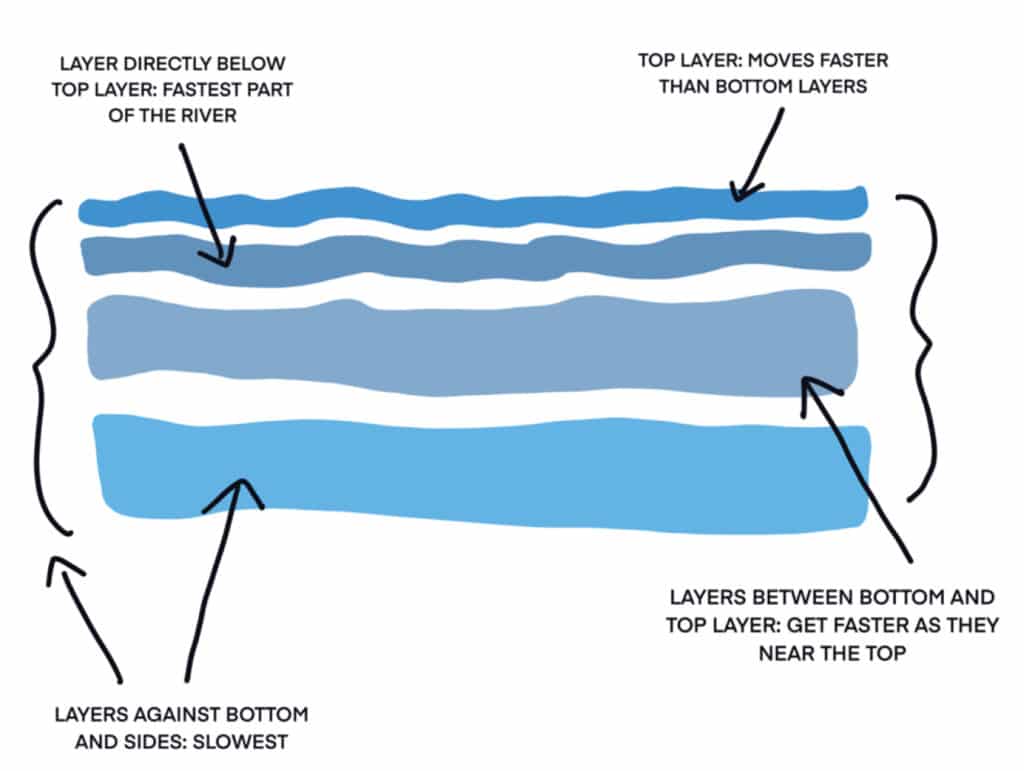
Basic cross-section of a river

Graphic created with info from: Http://www.wta.org/go-outside/trail-smarts/how-to/how-to-ford-a-river
Rivers have different layers of water, and they are all moving at different speeds. As you can see, the slowest moving parts of a river are at the very bottom, and at each side nearest the banks. As you get closer to the top and middle of the river, the current will be much faster.
The current on the very top layer of the river is affected mostly by the air above it, which means that the layer directly below the top will be moving the fastest out of anywhere else.
Basically, this means that while you may have a solid footing in the slowest moving layer, you will potentially be hit in the knees by the fastest moving layer of the river, causing the trek across to be considerably unsteady, or even causing you to fall.
Tip: Time of day matters. If a body of water is given to snowmelt, it may have lower water levels in the morning. Remember, you will have to cross the river again on your way back.
How to Know Where to Cross

No matter how you are crossing a river, you should first test the hydraulics.
If the area between the two banks is narrow enough, you can test the current water pressure by holding your walking stick vertically in the river. This method allows you to feel the pressure and speed of the river against the stick. Don’t forget, the current will be faster towards the middle, and slower closer to the bank.
The second way to test hydraulics is to toss a stick in the river. You can watch how fast it moves, and also watch to see if it gets sucked into any dangerous hazards. According to the Washington Trails Association, “if you do fall in the river, your path will normally follow the path of the stick.”
Tip: If the stick looks as though it is moving faster than you can walk, you should find a different area to cross at.
In order to successfully ford a river, you may want to look for:
- A section that allows you to cross going downstream at a 45-degree angle
- Areas that are broken up by sandbars
- Large animal tracks
- Deep, slow water
While it might seem common sense to cross at an angle or to find a spot that allows you to find respite on a sandbar, you might not think to look for large animal tracks.
Finding bear or deer tracks can potentially indicate either a section that was safe enough for the animal to cross or a watering hole that was safe for them to use because the current is slow-moving. Both can help give you some guidance when you are looking for a calm section of the river to cross.
According to the Pacific Coast Trail Association, deep slow water can be safer than shallower water that has a faster current, because you have the option to move more slowly and can be more choosy about where you place your feet.
However, water that is so deep you must swim across has its own set of risks. Swimming across a river can be one of the most dangerous ways to cross and should be used as a last resort.
Tip: Just because the trail stopped at a certain spot at the river does not mean that’s the best place to cross. Take time to find the best section of the river, even if it means moving off the beaten path.
It is also very important to keep an eye out for hazards that may be downstream.
| Hazards | Risk They Pose |
| Waterfalls | Going over the waterfall |
| Rapids | Being pulled into the rapids if you fall, or trying to walk through water that is moving too fast |
| Boulders | Getting pinned against or pulled underneath |
| Partially submerged logs | Getting pinned against them or encountering strainers |
| Steep banks | Not being able to easily get out once you cross |
| Bends in river | Tends to mean deep areas and potential for undercuts |
You will want to check for hazards like steep banks to make sure you can get out of the river once you ford it, but you should also make sure you’re aware of all the potential hazards downstream, as they can pose real threats if you are knocked over.
Avoid crossing upstream from any waterfalls or rapids, because you do not want to be pulled into (or over) them if you fall. Large boulders can be a hazard if you get pinned against or pulled under one, and bends in the river can mean faster currents and dangerous undercuts that you won’t want to deal with.
Partially submerged logs can mean strainers. If water is going both around and under a log, you could end up being sucked down, but not able to fit underneath.
“It’s called a strainer because water flows through it, but a human cannot.” (Stream crossing safety while hiking and backpacking).
Methods of Fording a River
You can ford a river using a few methods:
- Wading directly through the water
- Using a fallen log
- Hopping on boulders
If you choose to cross the river by wading through the water, and you have already assessed the current and downstream hazards, the next step is to prepare your equipment.
You should first unclip your backpack. Should you be knocked over, your pack will collect water and weigh you down. You want to be able to easily and quickly remove your pack and let it go. Your life is more important than the things in your backpack.
If you have brought a pair of shoes for river fording, put them on. You can tie your hiking shoes to your backpack, or you can drape them around your neck.
If you do not have a hiking pole, you can find a sturdy walking stick (or two!) to use to create a stabilizing tripod, and allow you to always keep at least two points of contact with the river bottom.
Move slowly and carefully, and if you feel that you should turn back, just turn back. Rivers can be very dangerous and full of unknowns, and even seasoned hikers can be taken down by them.
Additionally, you might also have the option of crossing using a fallen log or to boulder hop.
| Other River Fording Options | How-to | Downsides |
| Logs | Find a log with bark for traction Make sure it is secure on both banks Face upstream as you cross Sidestep | A large backpack might get caught on branches Need a lot of balance Slippery when wet Potential to break |
| Boulders | Take the time to visualize your route Use a pole or stick to help stabilize yourself | Need a lot of dexterity and balance Boulders that have been underwater may have developed a slime layer you can’t see. |
Logs and boulders can be a good way to cross if you have the balance and feel comfortable with these methods. You will need to assess the best way to cross based on what is available and your comfort level.
If you choose to cross a log, it should be one that clears the water. As discussed earlier, partially submerged logs can create strainers, and if you try to cross one and fall, you can easily be pulled under the log and get stuck.
Regardless of your chosen method, you should always assess the water before you cross. If you fall from a log or slip off of a boulder, you will not want to encounter any of the downstream hazards mentioned above. You will also want to make sure that where you land if you slip or fall is not going to have its own set of hazards, such as sharp rocks and sticks.
Safety Precautions
To ford a river as safely as possible, you should know what to do if you are knocked over or fall into the water, and how best to cross in different group scenarios.
If you fall while crossing, get your pack off – and let it go if you need to, in order to keep yourself alive. Position yourself so that your feet are pointing downstream, and you are on your back. This is called a defensive swimming position. It allows you to see where you are going and for your feet (not your head) to take any impacts. Use your hands to paddle and get you to dry land.
If you are crossing alone, face upstream and sidestep, just as you would on a log. You can move at a slight diagonal to decrease the potential to be moved backward.
A group of three can ford the river by creating a tripod, facing each other. You can hold the waist of the person to your right or left, and keep the strongest member of your group upstream.
Larger groups can break the current by crossing in a line, the strongest person in front, and the weakest members in the middle.
Tip: If you are hiking with multiple people, do not tie yourself to another person to cross. If you are tied together and one person falls, then everyone will be pulled down with them.
If you are going to be hiking back the same way, mark your crossing point and note the time it took to cross so you can plan appropriately.
Fording a river is not something to be taken lightly. While it can be a very dangerous and risky business, you can make sure you do it as safely as possible by taking all the precautions available. Overall be patient – both in looking for the best spot to cross and in doing the crossing itself. You will never regret taking the extra time to keep yourself and your hiking companions safe.
Citations:

Austin is the author of loveatfirstfit.com and a personal trainer with extensive knowledge in nutrition. Austin is passionate about helping others to find a suitable healthy lifestyle and feel good about themselves. Austin’s goal is to help people push their limits and achieve their physical performance.

